Getting Started
Login
Navigate to https://pos.iktechnologiesusa.com
Please type in your Username and Password
The OTP field is optional. Please see [[Security/Multi Factor Authentication]] for details on how to configure
Click the Sign in button
You should be greeted with the Dashboard page
Create Product
Navigate to Products:
- Go to the side menu bar.
- Select
Productfrom the dropdown menu. - Click on
Productsto open a new page.
Add a New Product:
- Click on the
Addbutton located at the top left side of the screen. - A form will appear, prompting you to enter the product details.
Enter Product Details:
Description and Name: Enter the product’s description and name.
Status: Select the status as Active or Disabled.
Packing and Units: Enter the packing details and the number of units.
Minimum Price and Alerts: Set a minimum price and configure alerts for remaining quantity to avoid shortages.
Supplier: Enter the name of your supplier for easy reference.
Product Classification & Pricing:
Category, Model Number, and Brand: Enter the product category, model number, and brand name.
Cost and Selling Prices: Enter the cost price and set multiple selling prices with profit margins (Price A, Price B, Price C, Price D).
MSRP and Tax Information: Add the Manufacturer’s Suggested Retail Price (MSRP), mark the product as taxable or not, and specify if it is nicotine ML taxable. You can also set a minimum age requirement for the consumer.
MSA and Discount Details:
MSA Discounts and Overrides: Enter details related to MSA discounts, MSA units override, and MSA promo codes.
Nicotine Volume and Tobacco Taxable: Specify the nicotine volume per unit and whether the product is tobacco taxable.
Upload Product Image:
Use the Image section to upload a picture of your product.
Additional Details:
Enter any further details related to the product in the Details field.
Barcode Generation:
If your product does not have a predefined barcode, you can create one by clicking the green refresh/reload button. The system will generate a unique barcode for each product you add to the POS.
Discount Quantity Pricing:
Set up pricing based on quantity discounts. Once the invoice quantity exceeds the specified amount, the price will adjust automatically.
Submit:
After entering all the details, click the green Submit button to save the product.
Create Supplier
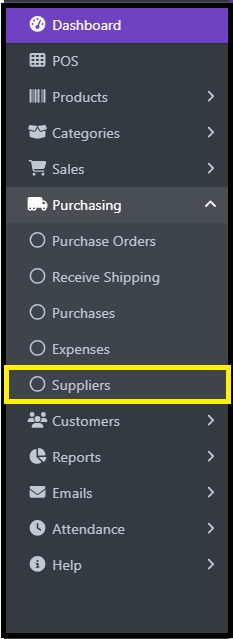
Navigate to Purchasing
-
Go to the side bar menu.
-
Select
Purchasingfrom the dropdown menu. -
Click on
Suppliersto open a new page.
Add a New Supplier
-
Click on the
Addbutton located at the top left side of the screen. -
A form will appear, prompting you to enter the Supplier details.
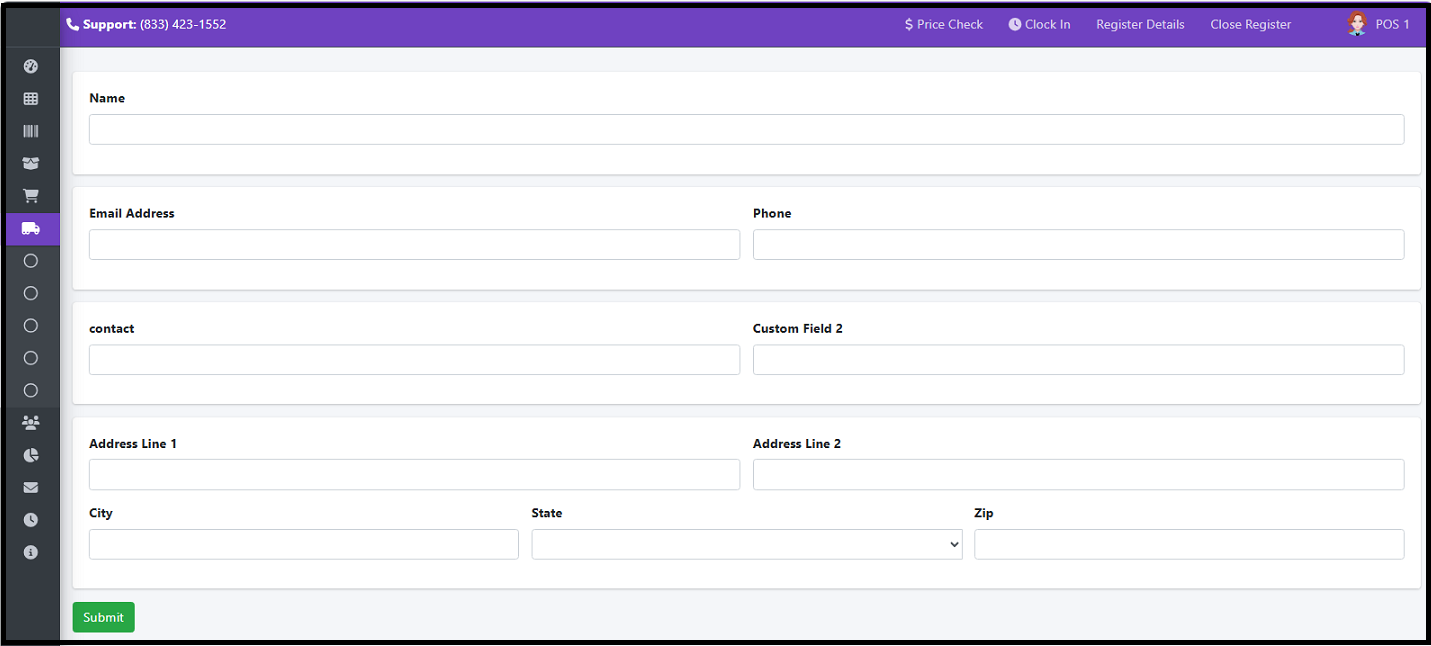
Enter Suppliers Details as Follows
-
Company Name of Supplier
-
Email Address
-
Phone Number
-
Supplier contact first and last name
-
Any other details you want to add in
Custom Field 2 -
Add address in the given fields as
Address Line 1andAddress Line 2 -
Enter the 'city', 'state' and 5-digit 'ZIP code'
Submit
After entering all the details, click the green Submit button to save the supplier information.
Add Purchase
Create Customer
To add a new customer in the POS system, follow these steps:
Navigate to Customers:
-
From the side menu bar, click on the
Customersicon. -
In the dropdown menu, select
Customersto open the customer management page.
Add a New Customer:
-
Click on the
Addbutton located at the top left side of the screen. -
A form will appear, prompting you to enter the customer details.
Enter Customer Details:
-
Name: Enter the customer’s first and last name
-
Company: Enter the customer’s company name.
-
Email Address: Input the customer’s email address.
-
Phone: Enter the primary phone number of the customer.
-
Phone 2: Optionally, enter a secondary contact number.
Customer Pricing and Licensing:
-
Price Type: Select a price tier for the customer (Price A to Price E).
-
Use Historic Price: On the POS page, you can change the price of any product when making a sale. Toggle this on to use previously set product prices for the customer at check out. Check out the [[POS page]] for more information.
-
Tobacco ID: Input the customer’s tobacco license ID, if applicable. Input the customer’s tobacco license ID, if applicable.
-
E-Cigarette ID: Enter the e-cigarette license ID, if applicable.
-
MSA Reporting: Select
YesorNobased on whether MSA reporting is required. -
CBD ID: Enter the customer’s CBD license ID, if applicable.
-
Taxable: Select Yes or No to indicate if the customer should pay tax on purchases.
-
Nicotine Tax Per ML: Input the applicable tax amount per milliliter for nicotine products.
-
Allow Check Payment: Enable or disable check payment options.
Enter Address Information:
-
Billing Address: Enter the primary address
-
Address Line 2: Enter additional address information, if needed
-
City: Enter the city
-
State: Enter the state
-
ZIP Code: Enter the 5 or 9-digit zip code.
-
Country: Enter the country
-
Shipping Address: If the shipping address matches the billing address, check the
Same as Billing Addressbox to autofill. Otherwise, enter the shipping address manually. -
Shipping terms: Specify the agreed-upon shipping terms or details.
Additional Information:
-
Fax: Enter the fax number
-
Fax 2: Enter an additional fax number, if needed
-
Custom Field 1 & 2: Use for any additional information, as needed
-
External Rewards Member: Select
YesorNoto indicate membership in an external rewards program and enter the associated ID if applicable. -
Internal Rewards Member: Indicate if the customer is part of your internal rewards program.
-
Sales Representative: Assign a specific sales representative or select All Users.
-
Customer Group: Classify the customer into a specific group. Check out the [[Customer Groups page]] for more information.
-
Notes: Add any additional comments or details about the customer.
Attach Documents (Optional):
-
Name the supporting documents, receipts, or files related to the customer that you would like to upload.
-
Click the 'Choose File' button to upload the document.
-
Click the 'Add' button to add the document to the customer information.
Submit:
- After entering all the details, click the green
Submitbutton to save the customer information.
Create a Sale
Creating sales in the IK Tech POS is simple and efficient. Follow these steps to record a sale and process invoices with ease.
Navigate to the POS Screen**:
- Click on the POS option from the left-side menu.
- This will open the POS sales screen, where you can start adding products and generating an invoice.
Selecting a Customer:
At the top of the invoice screen, you will find the Customer Selection dropdown. If no customer is selected, it will
show No Customer Selected. You can:
- Search for a customer by typing their name.
- Use Advanced Search (click the search icon) to find a customer by name, company, email, phone, or address.
- Add a New Customer by clicking the (+) sign if the customer is not already in the system.
Adding Products:
- In the Product search bar, enter the product code or name. Alternatively, scan the product barcode for quick input.
- Click on magnifying glass icon, for
advanced product search, where you can search by name, description, or barcode. - Click the (+) Sign to
add new productsthat are not yet incorporated into the POS system. - Use
Lookup optionto select products based on categories.
Understanding the Product Table:
Once a product is added, it appears in the table with these details:
Column Name Description Ln Line number of the product. Image Displays the product image. Barcode The product’s barcode. Name The product’s name. Description Clicking this opens detailed product information. Packaging Displays packaging details. Price ($) Product price before discounts or tax. You can edit this field. Quantity Default is 1 but can be adjusted. Subtotal Total price before discounts/taxes. Trash Icon Used to remove an item / product from the invoice.
Viewing Product Details:
Clicking on the Description field opens a pop-up window, where you can:
- Viewing multiple pricing options (Price A, Price B).
- Checking unit cost and profit margins (hidden by default).
- Selecting a discount type (percentage or dollar).
- Checking available stock (negative values indicate out-of-stock items).
- Add comments for internal tracking.
- Click
Edit Productto edit / update product details if necessary.
Apply Discounts (If Needed):
- Click the
Discountfield (bottom-left of the page). - Enter the discount amount or percentage.
- Click
Submitto apply the discount to the invoice.
Add a Tip or Shipping Charges (If Applicable):
- Click on
Tipto enter any additional gratuity. - Click on
Shipping Chargesto add delivery fees.
Review and Process the Invoice:
Before finalizing, check the Invoice Summary at the bottom:
✔ Subtotal – Total before discounts, tax, and extra charges.
✔ Discount – Any applied reductions.
✔ Tax – Automatically calculated.
✔ Tip & Shipping – If added.
✔ Total Payable – Final amount due.
Once everything is correct, choose:
- Hold – Save the invoice for later.
- Cancel – Discard the invoice.
- POS Screen Two - View the invoice in PDF format.
- Print Quote – Generate a quotation.
- Payment – Proceed to finalize the transaction.
Processing Payments:
Clicking on Payment will bring up the payment screen:
✔ Total Payable – Displays the final amount after discounts and tax.
✔ Total Paying – Amount entered for payment.
✔ Change Given – Auto-calculated if the customer pays extra.
✔ Previous AR Balance / Invoice Balance / New AR Balance – Useful for tracking Accounts Receivable (if applicable).
Select Payment Method:
- Choose from the Paying By dropdown:
o Cash
o Credit Card (External)
o Credit Card (Terminal)
o Debit Card (Terminal)
o EBT (Terminal)
o Check
o Zelle
o Other
- You can also add a Payment Note
- If splitting payments, click Split Payment and enter amounts for multiple methods.
- Add any notes (optional) visible to the customer.
Finalize the Invoice:
Click Submit to complete the sale.
Review and Print the Invoice:
Once the payment is completed, the system generates an invoice.
Check Invoice Details: - Make sure the items, quantities, and taxes are correct. - Verify the customer details. - Check the payment method(s) and amount paid.
Print or Email the Invoice:
- Click Print Receipt to generate a hard copy.
- Click Email to send the invoice directly to the customer's email.
- Click Open Cash Drawer (for cash sales).
All sales are final once processed, ensuring accurate records for both the seller and the buyer.
Sales Datatable
The Sales Data table in IK Tech POS provides a detailed overview of all sales transactions, allowing users to manage invoices, track payments, and perform various actions efficiently. This section explains the different columns, available actions,and the search functionality to filter data quickly.
Navigating to Sales:
- Go to the Sidebar Menu and click on
Sales. - Choose
Salesfrom the dropdown menu. The sales table will appear, displaying a list of all sales transactions.
Understanding the Sales Table:
The Sales table displays all sales transactions with key details. Below are the column headers and what they represent:
- ID: A unique transaction ID assigned to each sale.
- Date: The date and time when the sale was recorded.
- Customer Name: The name of the customer who made the purchase.
- Sales Category ID: You can select the if the sale is a general, retail, or wholesale sale.
- Sales Source ID: Shows if the sale was done in-store, online, or by phone.
- Reference A reference or note associated with the transaction.
- Total The total amount before tax and discounts.
- Tax The tax amount applied to the transaction.
- Discount Any discount applied to the transaction.
- Grand Total The final total after adding tax and subtracting any discounts.
- Paid The amount already paid by the customer.
- Status The payment status of the transaction, which can be:
o
Paid(Green) – Fully paid transactions. oDue(Red) – Payments that are still pending.
Tip: You can add or remove columns by selecting the blue Columns button, hold the Control key (or Command key for Apple laptops), and select the column you would like to add or remove.
Actions Column:
There are seven actions available for each transaction, allowing users to manage sales efficiently:
- View Invoice – Opens the detailed invoice for the transaction.
- View Payments – Displays the payment history related to the transaction.
- Add Payment – Allows users to add a payment if the transaction is not fully paid.
- View Document – Opens any associated documents or receipts.
- Clone – Creates a duplicate of the transaction, useful for repeat orders.
- Edit Invoice – Enables modifications to the transaction details.
- Delete Invoice – Permanently removes the transaction from the system.
Search & Filtering
At the bottom of each column, there is a search bar that allows users to filter sales data easily. Users can: - Search by Transaction ID, Customer Name, or Reference. - Filter transactions within a specific Date Range. - Search for sales within a particular Total, Tax, Discount, or Grand Total range. - Filter transactions based on Payment Status (Paid/Due).
The Sales Data table provides a comprehensive view of transactions, offering detailed records, multiple management actions, and advanced search functionality for efficient sales tracking.